Angular 7 HttpClient: Learn How to Consume RESTful API With a ToDo Application.
The api consumption is one of the pillar features of each frontend frameworks and that is also applicable to angular from its version-1.* up to version-7.2 which is the current version today. API is a set of services that process data at the server level and exposes some simple interfaces for users to use those services through a simple http protocols.
We will see how to interact with those interfaces at the frontend level using angular 7. So, we will be going in detail on how the HttpClient Module work on angular from it version 5. Basically, we send a request to the server through an http request. What happens behind the scene is that, we are actually telling the server to do something for us. The request will fire the service which will process our request and send back the response to us and we will handle that response and display what the user needs in the best possible way. Here, our angular HttpModule comes into the game when we are sending the request to the server and when we are getting back the response. Then, in conjunction with some other modules like Rxjs we can now process the response and display it on the browser for the user.
To keep things simple, we will cover the fundamental functionalities of consuming an API with the angular framework. We will do the following:
-
Set up up the Backend
-
Inject the HttpClientModule
-
Create our Service in Angular
-
Use the HttpClient Class in our Angular Service
-
Using our service methods from an Angular Component
-
Handle the errors the right way
1- Setting up the Backend
Even though, this is not part of frontend development, it’s actually a vital part of our article because it’s the part of the application that will be providing the interfaces in which we will consume the api. Here is the API of a simple CRUD operation of a TODO Application using NodeJs with Expressjs and Mongodb. All you need to get up and running is to install Nodes and Mongoldb on you computer. Next, you clone the project on GitHub using the following command.
After this, you will have the folder with the files downloaded into your computer. Now you navigate to the folder and run and nom install to install all the dependencies needed by the application.
This should be all you need to have the API up and running on your computer. You can now use some Mongodb command like the one below to add some data into your database.
If all is well you can start serving your api with the following command:
We will be implementing the CRUD operation exposing through these url resources.
-
Create: http://localhost:3000/api/todos POST (verb)
-
Read All: http://localhost:3000/api/todos GET (verb)
-
Read One: http://localhost:3000/api/todos/:_id GET (verb)
-
Update: http://localhost:3000/api/todos/:_id PUT (verb)
-
Delete: http://localhost:3000/api/todos/:_id DELETE (verb)
To get all the todos in your database just access this link from your browser. http://localhost:3000/api/todos this will give you a similar json data like this one:

But, if you are interested to learn more about creating a RestFul API with NodeJs(ExpressJS) and MongoDB, you should read this: complete restful api article
2- Injecting the HttpClientModule.
Before we start this, we assume you have created your angular application and generate all the necessary components. If it’s not the case you can follow this article to do so. HttpClientModule is one of the main modules created to facilitate the process of communicating using the http protocol in an Angular Application. You need to inject this into your application before you can use it, To do so, you have to import in your src/app/app.component.html as shown below.
3- Creating our Service in Angular
In an Angular Application, we often need to manipulate data get from the api (server) into various Components of our Application. But, with the design of Angular, it is not advised to interchange data from one component to another. To do that, we need a Service that will make the properties and methods available across multiple Components. So, let’s create the Service for our TODO Application. Go to your terminal and run the following command:
This will create a file, one named src/app/todo.service.ts and the other one for the testing feature of our service fonctionalities. Then, we will inject the Service into our Application by adding the following into our app.module.ts
Now, you should be able to use your service anywhere you want in your application.
To follow the standard, let’s create and interface that will defined the different properties of our Todo object. Create a file named, src/app/todo.interface.ts and put in the following snippet.
4- Using the HttpClient Class in our Angular Service
Now that, we have our Service, we will write all our API method calls there, so that we can access them from any Component without repeating our self. Apart for the HttpClient class, we will also need to import the Observable class as shown on this code bellow: src/app/todo.service.ts
The observable class will prepare the request for the api call and return it to the method and wait for a subscriber to actually make the request when needed. So, in this service we will prepare all the request to be ready to make the request and each time we need to call it in our Application, we subscribe to it in the Component for it to get call. Now, we can store the response to our variable in such a way that we can bind them easily to our Component Template. Below is the complete code of our service file.
We have instantiated the the http variable to be of type HttpClient as shown on the constructor above as stated earlier, you can see that each method is returning an observable of type Todo or an array of Todos.
For the getTodos we are getting all the records found in the database we just call the get method of the http object and we pass the url as the parameter.
The only difference with the getTodo method is that we pass an _id as parameter to the method which is then appended at the end of the url. This also returns an observable and will make a call each time it gets a subscriber.
Now, the only difference between the addTodo and updateTodo is that, the addTodo doesn't take the id of the todo to add because it’s automatically generated by the mongodb system. And the second parameter is the new todo object to be created while in the updateTodo, we pass the id of the specific todo object to be updated. Both have the last parameter which is the header of the request to specify the type of content to pass along with the request.
The deleteTodo method is simple to understand as you can see, we are just invoking the delete method of the http object.
5- Using our Service methods from an Angular Component.
To keep this article short I will assume that, you cloned this complete user interface project from my github, in case you want to learn how it was built, read this: Learn How To Build A ToDo App with Angual 7 and Material Design.
Let's now see how we are implementing the src/app/tasks/tasks.component.ts to subscribe to the getTodos and the deleteTodo method of our Service.
As you can see, to subscribe to an observable object, we simply get to the method from our service object and access the subscribe method which also takes three arguments as follow:
-
(1) A callback function that returns the data on success request
-
(2) A callback function that returns the error on failed request
-
(3) And the complete callback function that takes no parameter and returns nothing after the request finished executing.
For all the other functions it is very similar the only difference is just the arguments passed to the function. Example this is how the addTodo method will be implemented in the src/app/addtask.component.ts :
Now, on our src/app/tasks/tasks.component.html we have this:
For the rest, follow the process given above to get it done. By the way, this is the TypeScript code for the other methods.
This is just half of the battle, if you need to actually see this in action, you need to add more codes for the template and some adjustment at some other Components.
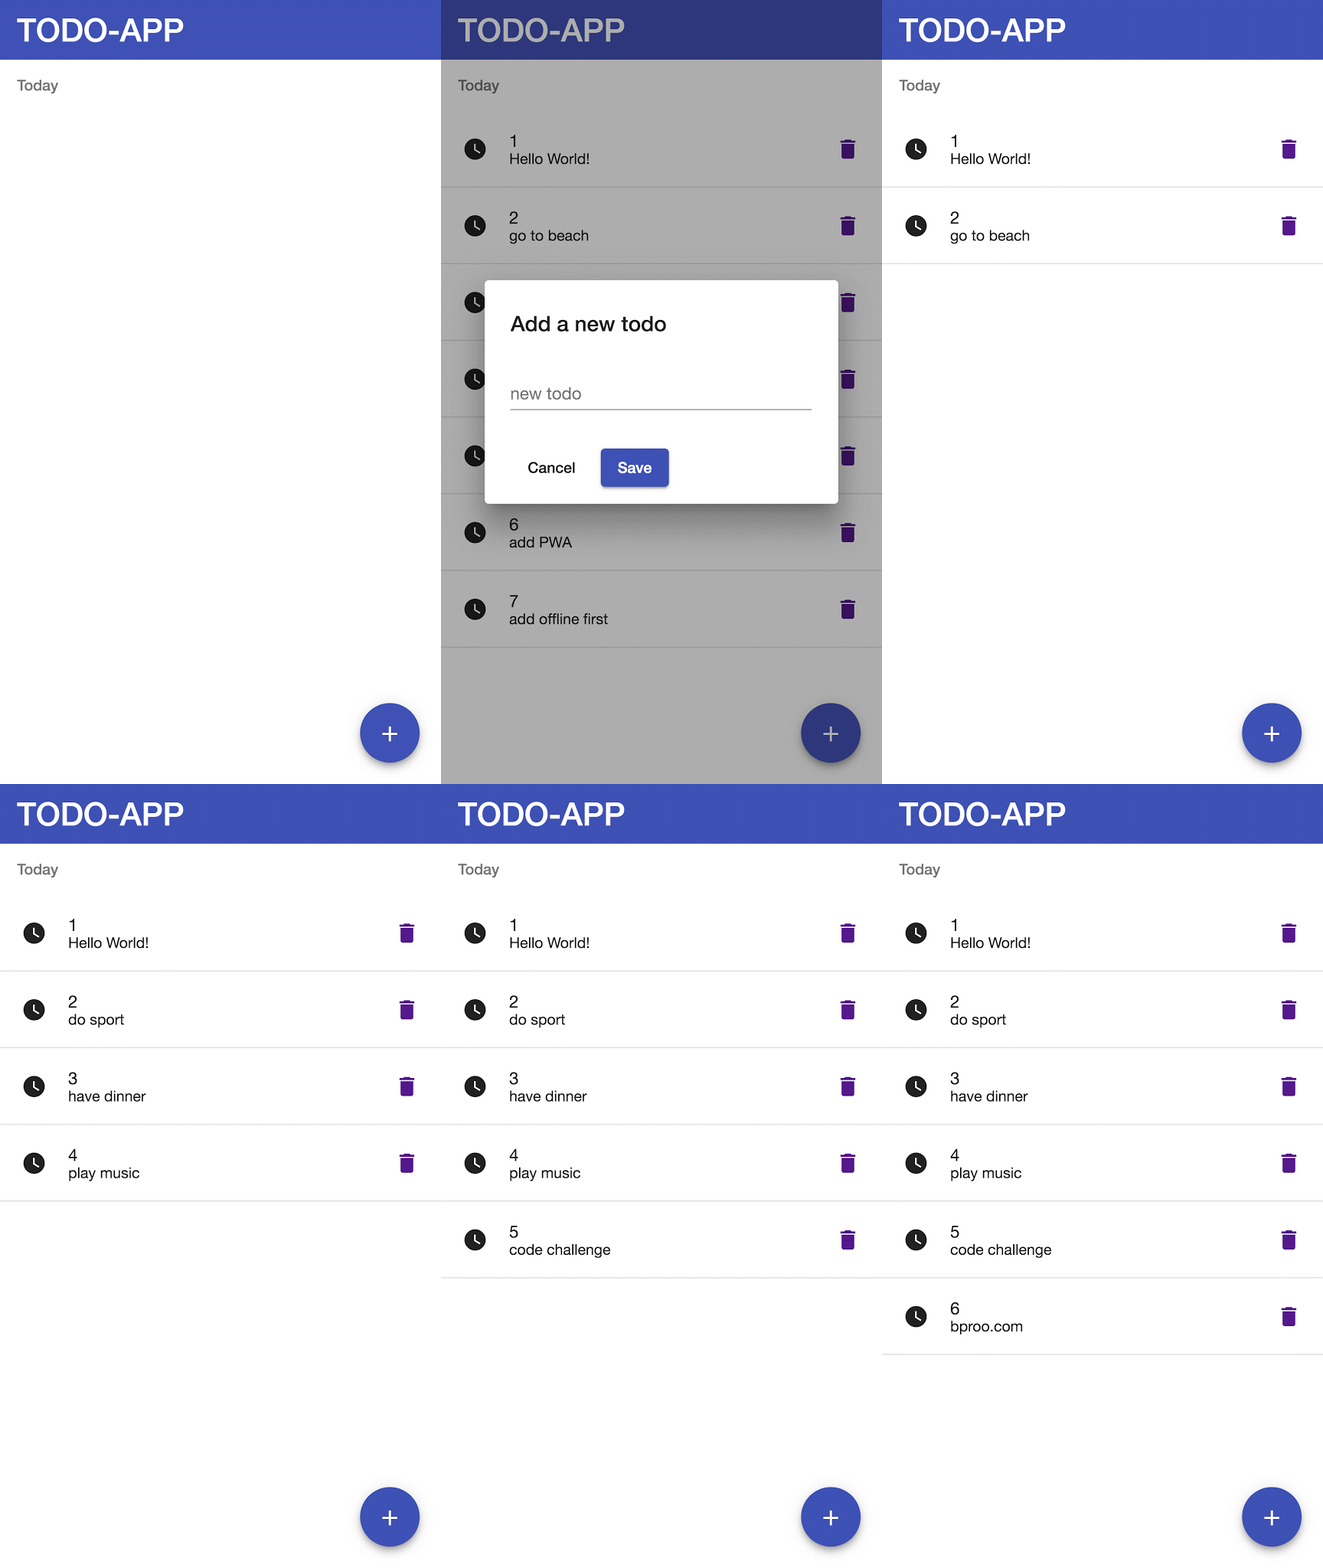
Here is the complete source code that can guide you through the entire process with all the assets needed to get something like this:
.png)
Please be kind to share this article if you liked it, leave you comments or questions if you still happen to have any.

Save Your Money Today!
By receiving free stock articles and smart tutorials to advance your career...


